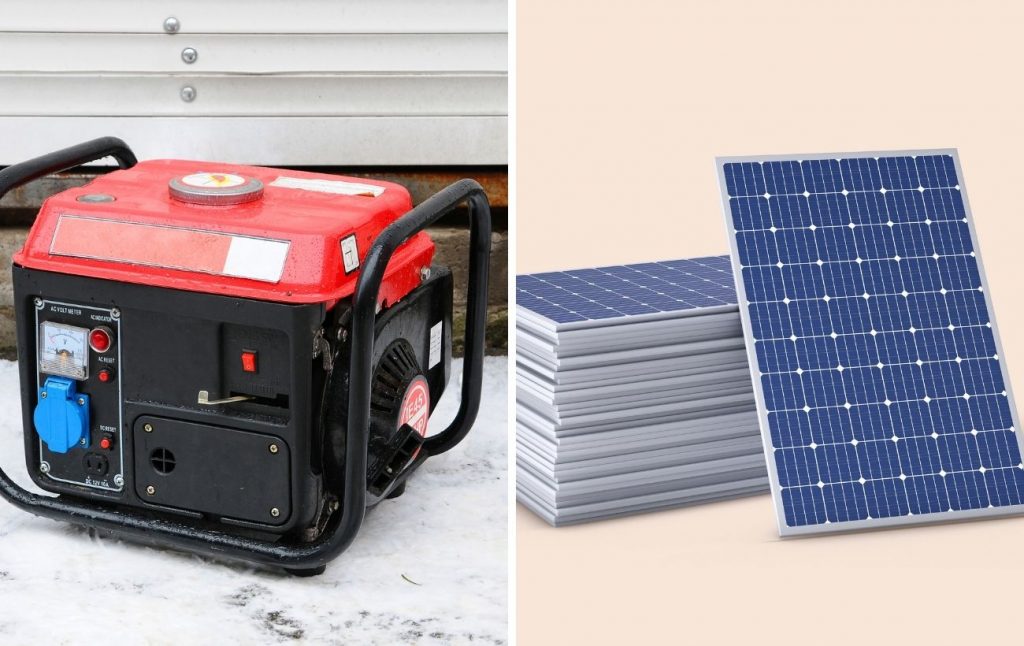
Presently, almost everyone is familiar with solar energy, and solar power has been gaining more popularity as time progresses. As a result, more people are adopting solar power generation and utilization in their firms and homes. However, many are not yet familiar with DIY solar power generation. You can find DIY solar generator diagrams here.
Despite its popularity, solar energy generation still sounds futuristic to a lot of people. Although many people are utilizing solar energy, their numbers are still a far cry from the majority of the population. Are you aware that you can generate and utilize solar energy in your home, workplace, or school building, and you won’t spend more than $300 to achieve that? You need to build the solar generator by yourself.
This article will show you how to build a solar power generator from scratch.
1. Acquire a Small Solar Panel
With a budget of $100, you can get a solar panel with a capacity of 12 volts or more. 16 volts is the recommended output to look for. You can get solar panels at an RV, Green Batteries store, or a marine supplies store.
2. Get a Rechargeable Battery
We recommend buying a rechargeable battery from green firms such as Batteries. com or Green Batteries store. It can be a gel battery, deep cycle 12-volt acid, or lead battery of any size. The deep cycle battery is more suitable because you’ll be using the battery continuously. It’s different from the rechargeable battery used in automobiles, which is a cranking battery. That type can only power an engine. With a budget of $60, you should be able to get a good battery.
3. Acquire a Box for Your Battery
A battery box is essential because it will protect the battery terminals from being tampered with, especially where children are around. However, this step is optional if you intend to install or build this solar generator in a boat, cabin or pump shed. A battery box won’t cost you more than $10.
4. Buy a Direct Current Input
With $10, you can get a DC input (the triple inlet model is preferable). Again, this is for powering DC appliances.
5. Buy an Inverter
For powering AC appliances, you’ll need an inverter. This converts the accumulated DC stored in the battery into AC to power appliances in your home. A 115v/140W inverter can cost you up to $50 at Pep Boys. The capacity of the inverter you’ll be purchasing should be determined by the capacity of the appliances in your house.
6. Attaching the DC Input and Meter
Using a drill, attach your DC input and meter to the upper part of the battery box.
7. Attach the Meter to the Battery Terminals Using Insulated Wire
First of all, connect the negative charge. Don’t attempt to attach both wires at the same time. Then, attach the DC input to the battery the same way. Finally, attach the solar panel to the battery.
8. Secure the Solar Generator in Place
You can use a bungee cord to achieve this. Afterward, expose the solar panel to the sun. It will take at least 5 hours to charge a flat battery and at least an hour to recharge a weakened battery.